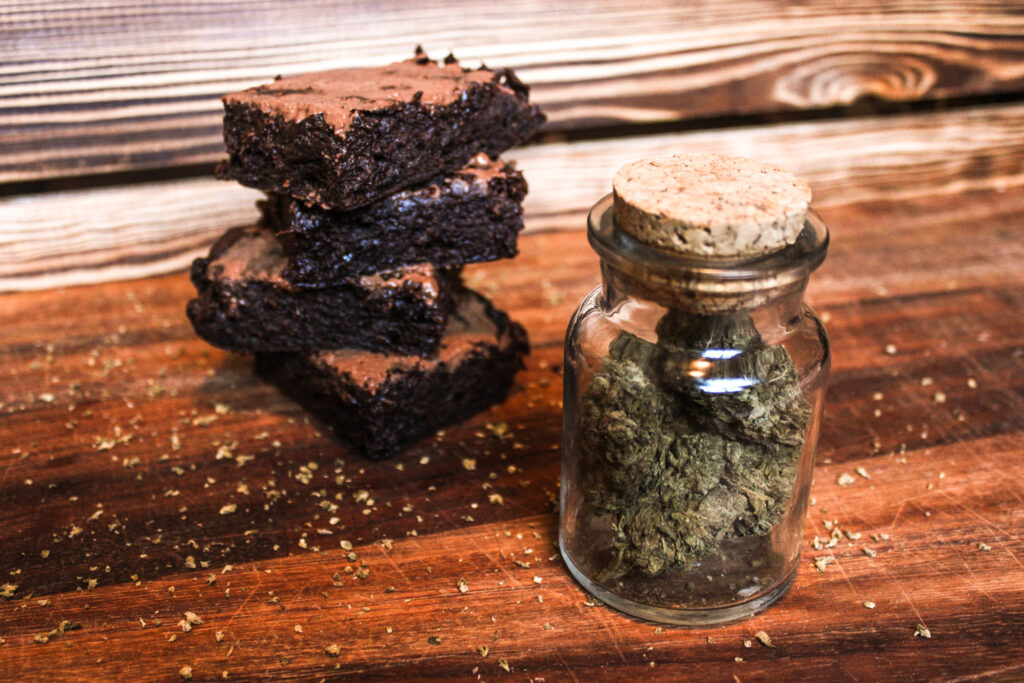
Gluten-free vegan space cake
CBD Recepten With Sydney
- 4 cups pitted dates
- 6 tbsp coconut oil
- 1 ½ cups raw cacao powder
- 1 ¼ cups of natural peanut butter
- 1 ½ cup cold water
1 chocolate bar
Serves: 12 people
CBD potency: 20 milligram per piece
These delicious flour-free and vegan brownies are a must-try!
If you love a good challenge and a yummy result, you are going to love these CBD infused treats! I love making these for family and friends, or just simply having them around my house for my partner and I to enjoy! The base of this recipe is dates. That being said, if dates aren’t your thing, you may want to pass on this one! However, I love dates, which is why I chose to make this recipe for you
This is my first baking blog and is slightly more complex than my usual recipes, which is why I am going to break it down into different 5 steps to simplify it as much as possible.
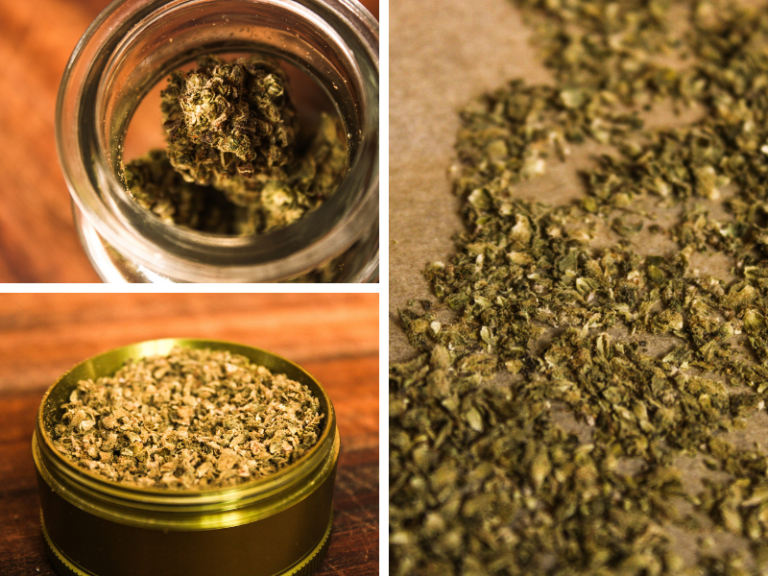
Step one: CBD coconut oil
Today I used 4 grams of Amnesia CBD herb. The nice thing about Green Cuisine CBD’s herb is that they always lab test their flower, meaning I can accurately dose my brownies to the milligram! Since we are cooking with CBD herb that contains next to no THC, we don’t have to go through the decarboxylation phase that comes with baking when using traditional THC based Cannabis. If you know my cooking blogs, then you know I love easy recipes and simplicity in my kitchen-Less is more!
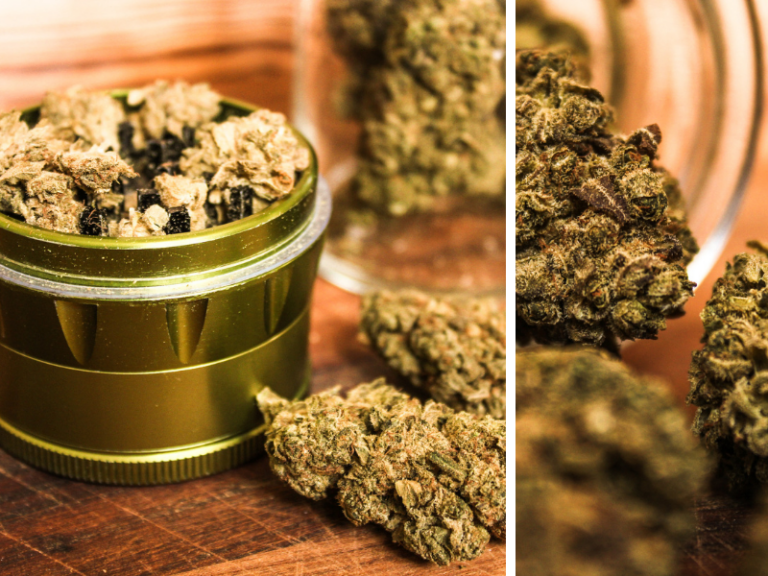
I used my CBD grinder to grind my herb. A tip for CBD herb beginners: never use your regular grinder! I made this mistake the first time I had Green Cuisine CBD’s herb, which resulted in a high due to all of the kief that my regular grinder was coated in… Oops! Rookie mistake! Once you have that ground up, grab a baking tray, some baking paper, and lay out your ground up herb on the tray. Make sure it is spaced out on the pan so it can warm up evenly. Put in an oven at 100C to ensure you do not weaken the CBD contents. It is crucial to always use very low heat so non of the CBD breaks down. Let your herb sit in the oven for about 15-20 minutes. When you are ready to take it out, opening the oven should result in a strong cannabis smell hitting you in the face! How delicious!
Since we only need 4 tbsp of coconut oil for the recipe, I added 6 tbsp of oil to a small saucepan to make up for the oil that will soak into the herb, ensuring you are left with enough oil for our recipe! You may be left with a little bit of extra oil, depending on how much gets soaked into your flower. If this is the case, you can let it settle and add it into your next meal! Make sure your saucepan is small enough so there is oil covering the entire bottom. Adding in the extra oil will help with this.
Put on super low heat, add in your herb and mix until all your flower is covered in oil. I left mine on the stove for about 15 minutes, only stirring a few times. You will know your oil is done by the colour and smell of the oil. Four grams of CBD herb should make your oil resemble super potent and dark olive oil. See photo for reference!
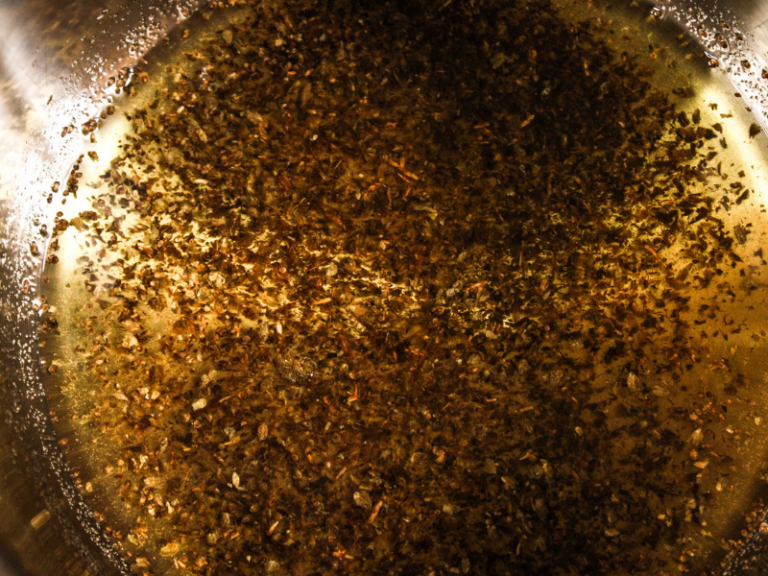
Now you need to run the contents of your saucepan through a sifter, ridding of all the flower until you are left with just the oil. Not as difficult as you perhaps thought, right? Now that we have our oil, we are ready to move onto the next step.
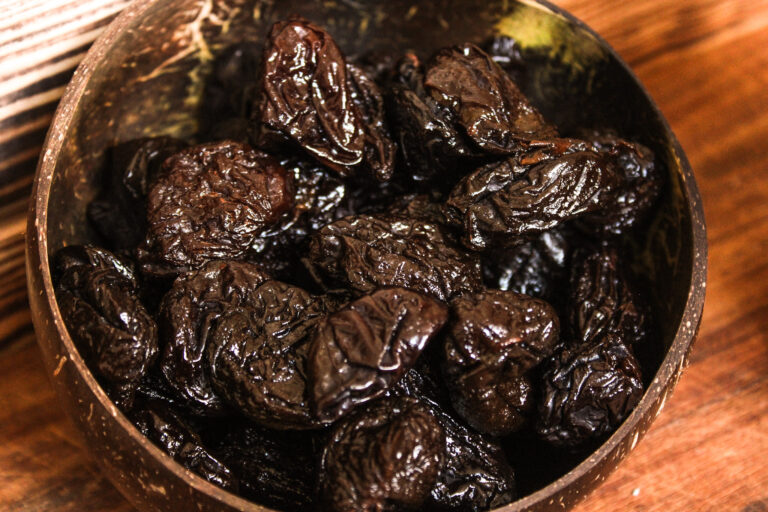
Step 2: Date paste!
This part can be a bit tricky as dates are not the easiest food to work with. Simply add your 4 well-packed cups of pitted dates into a food processor or high-speed blender along with your ½ cup of water. Blend/process until they are evenly broken down, creating an extremely thick ‘paste’. You may have to encourage it to break down by completely blending it, pausing it, pushing it down, blending again, pausing it, pushing it down, etc… Since your dates will end up with such a thick consistency, they can be pretty stubborn, even in a high-quality food processor. Bare with the dates, it is worth it, trust me!
Step 3: Time to mix: let’s get messy!
Grab a big mixing bowl and get ready for the real challenge; getting everything to mix well! Roll up your sleeves, because this step gets pretty messy. First, I like to add the peanut butter to my bowl and mix in my CBD herb oil as it is easy to add in the oil now rather than later. You can slowly add in half of your cacao powder as well. Once you’ve done that, it is time for the dates, which is the difficult part!
Go ahead and use a mixing spoon if you can manage without breaking or bending it! However, I personally find using my hands is the best method. Add your dates into your chocolatey peanut butter mix and massage in your dates. You can add in the rest of your cacao powder here in parts. This may take a minute to bind the dates properly with the rest of the ingredients so make sure you are feeling patient before trying this! Of course, you can use whatever method you want for binding the ingredients, I just find that mixing my ingredients together with my hands works best! Do whatever works for you.
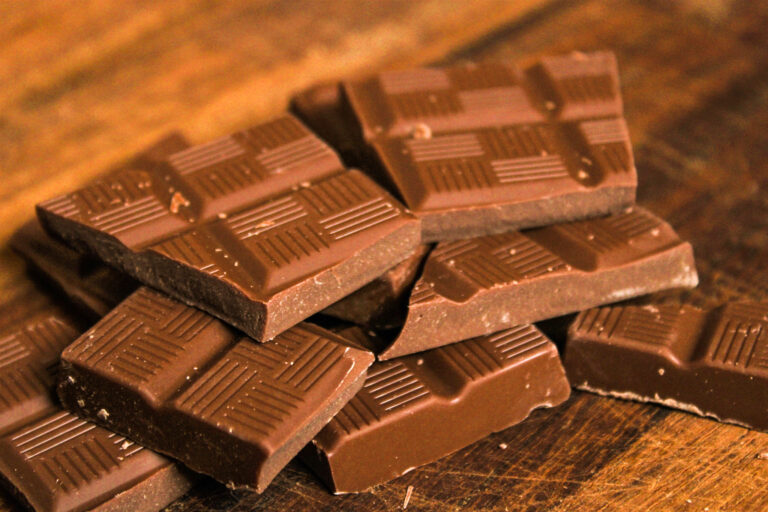
Step 4: Time to get it ready for the oven!
Once you have a big lump of thick brownie batter, you can add it all to a pan and flatten it out with your hands or a spatula. I laid out the brownie batter on some baking paper in the pan to avoid it sticking to the pan. Lastly, cut up your chocolate and add it as a topping! I used one bar of vegan ‘milk’ chocolate but you can use any chocolate you wish! I like to add the chocolate chunks on top and then slightly push them into the brownie batter so they have somewhat emerged into the brownies-but this is 100% up to you and you can mix them into the batter before hand if you want!
You can add them to your oven at a low heat of 100C. Without the herb, these brownies usually go into the oven at 180C for 15 minutes. Since we are pretty much halving the heat, we will put it in for 25-30 minutes at 100C.
Step 5: Serve & Enjoy!
When your brownies are done, you can pull them out of the oven and let them cool on the side for about 10 minutes. I smeared my chocolate toppings with a butter knife. Time to cut them up and enjoy! I used an 19cm x 29cm baking pan that is 4cm deep and cut the batch into 12 pieces. If you did the same, this means there should be approximately 240 milligrams of CBD in the whole batch. If you cut your brownies into 12 pieces as I did, then you will have 20 milligrams of CBD in each square. 20 milligrams of CBD is a great daily dose for those wishing to simply supplement CBD!
Why I choose to put CBD into my space cakes:
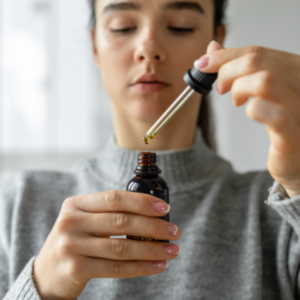
I personally take CBD every day and love to incorporate it into my cooking/baking whenever I can. I have a pretty bad back, which is my primary reason for using CBD. Statistically, bodily pain is the 2nd most common reason why individuals use CBD. This is my reason for taking CBD, however, the list of benefits is long! Of course, I usually just simply take my CBD drops to get my daily dose. Although, I do love a good challenge in the kitchen and using CBD herb is a great way to push my limits, while getting to try new things and enjoy delicious recipes! Vegan and flour-free brownies are yummy and healthy as is, so why not add some additional benefits and add CBD?If you want to learn more about CBD and its many benefits/applications, click here!
Thank you so much for following along with this recipe. We would love to know how your vegan space cakes turned out! Leave a comment to let us know if you liked this recipe and what you would like to see me do next!
With good vibes and green goodbyes,
-Sydney